Our final results it’s almost the same as here: How to display User Name and User Image on the Listing Card (e.g. row)
But we add some options to shows avatar only if the user has Business Seller role on your website:
Important: Make changes on the child theme – after update the theme, you don’t lose it, and before starting always do a backup of your website.
You can use the code below to add a user name and user image to listing cards PHP files
e.g. \wp-content\themes\vehica\templates\card\car\card_v3.php
<?php

$vehicaUser = $vehicaCurrentCar->getUser();
$vehicaUserName = $vehicaUser->getName();
$vehicaUserUrl = $vehicaUser->getUrl();
$vehicaUserImageUrl = $vehicaUser->getImageUrl();

if ($vehicaUser && $vehicaUser->isBusinessRole() && $vehicaUser->hasImageUrl()) {
 ?>
    <div class="vehica-avatar-card" style="margin: 10px 0">
   <a href="<?php echo esc_url($vehicaUserUrl); ?>"><img style=" z-index: 999; position: relative; width:30px; height: 30px; border-radius:50%; margin-right:6px" src="<?php echo wp_get_attachment_image_url($vehicaUser->getImageId()); ?>" alt=""> </a>
   <a href="<?php echo esc_url($vehicaUserUrl); ?>"><?php echo esc_html($vehicaUserName); ?></a>
    </div>
 <?php
} ?>
Add PHP code bellow this on card_v3.php
<?php echo esc_html($vehicaCurrentCar->getName()); ?>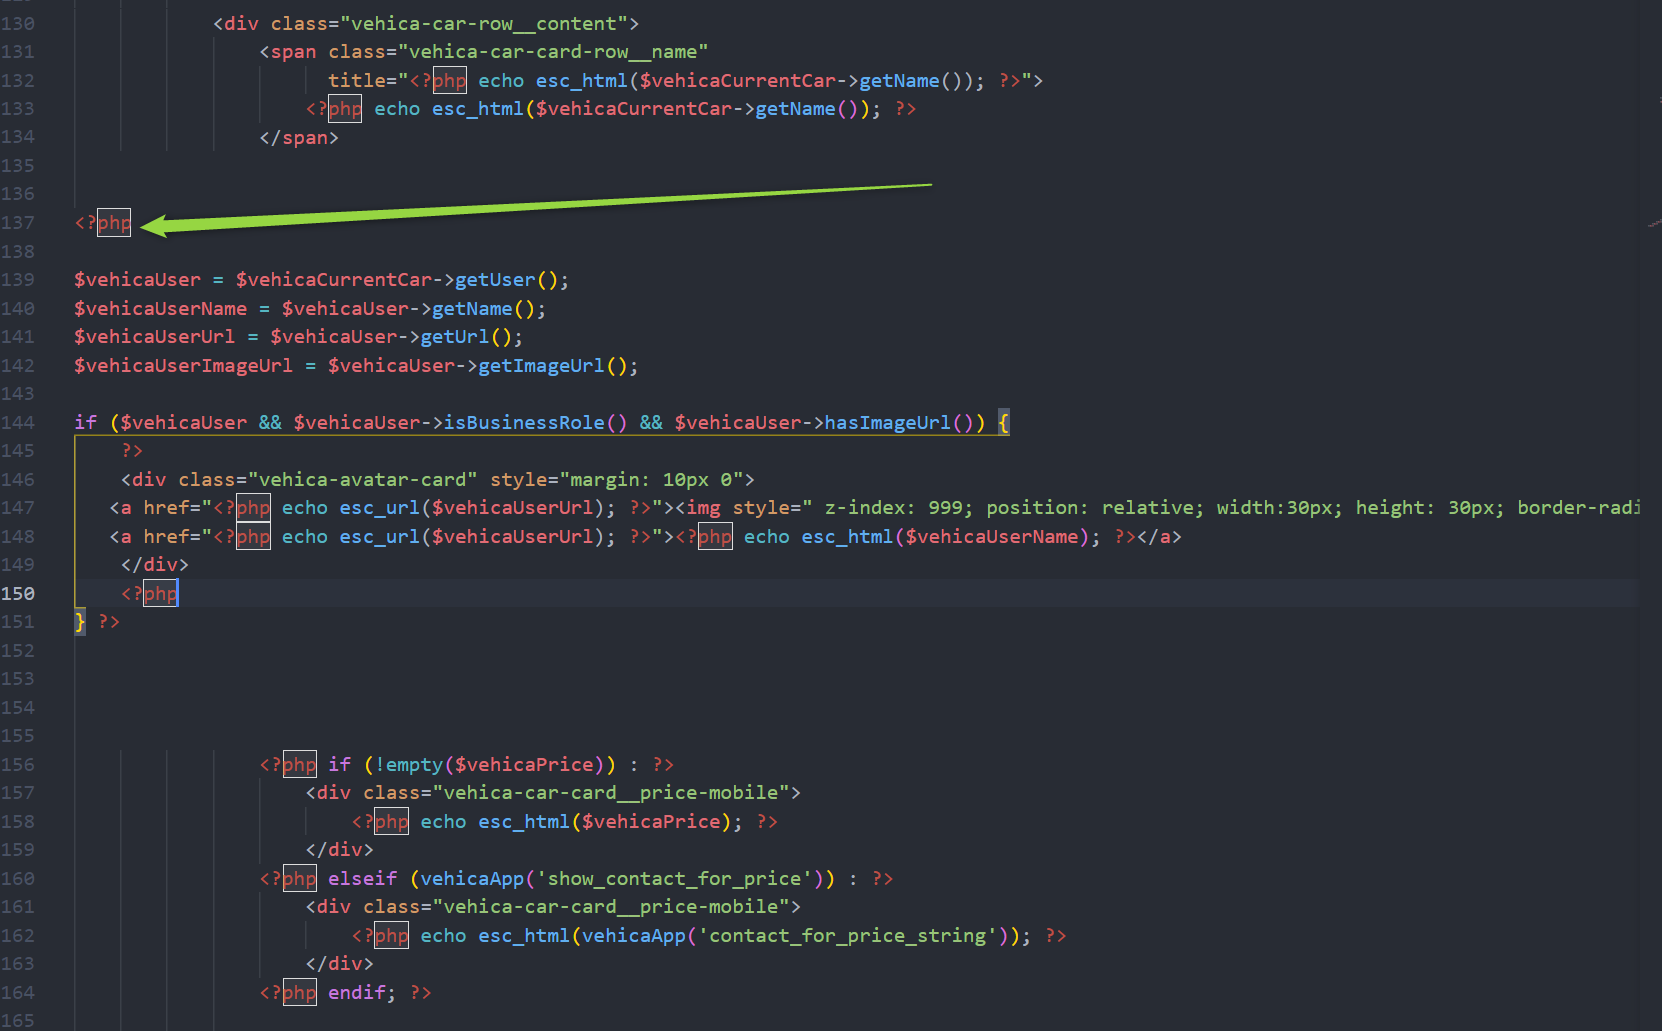
Also we need to add custom CSS to change postion and z-index of our element:
.vehica-avatar-card{
 position: relative;
 z-index: 999!important;
}
Please add it via Child Theme. You can learn more about how to use it here: How to use Child Theme? How to change files (php / css / js) and keep theme future update compatibility?